
Jupyter Hub
Attention: You are viewing a page from the old CRC user manual.
This page may not represent the most up to date version of the content.
You can view it in our new user manual here.
Summary
In addition to Jupyter notebook sessions via Open OnDemand, CRC also hosts the functionality for the multi-user equivalent Jupyter Hub.
Accessing CRC Jupyter Hub
The Server Options dropdown gives you the option to create a Jupyter Hub instance on your local machine, on the SMP cluster (1 core, 3 hours), or on the GPU cluster with GTX 1080 (1 GPU, 3 hours) or A100 (1 GPU, 3 hours).
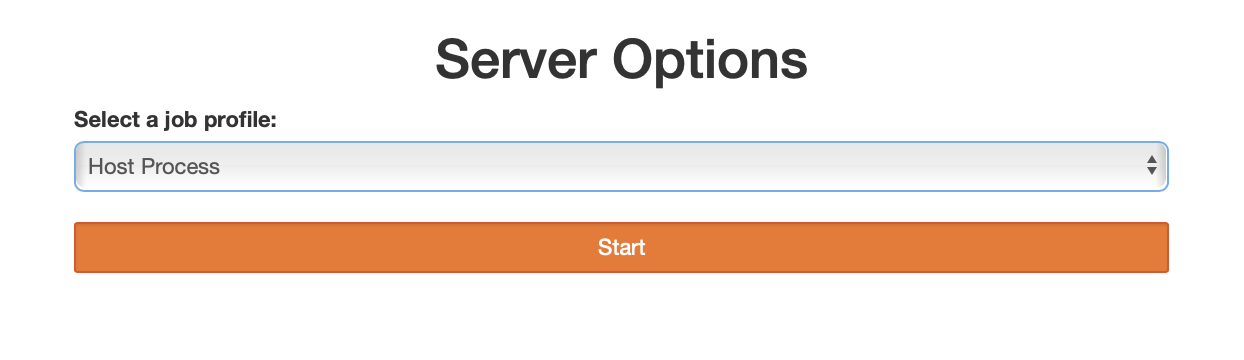
After making your selection, click on Start and you will be redirected once the job is provisioned on the cluster. This may take a few minutes, depending on the cluster's load.
Once the job has started, click on Start My Server, which will lead you to the Launcher page.
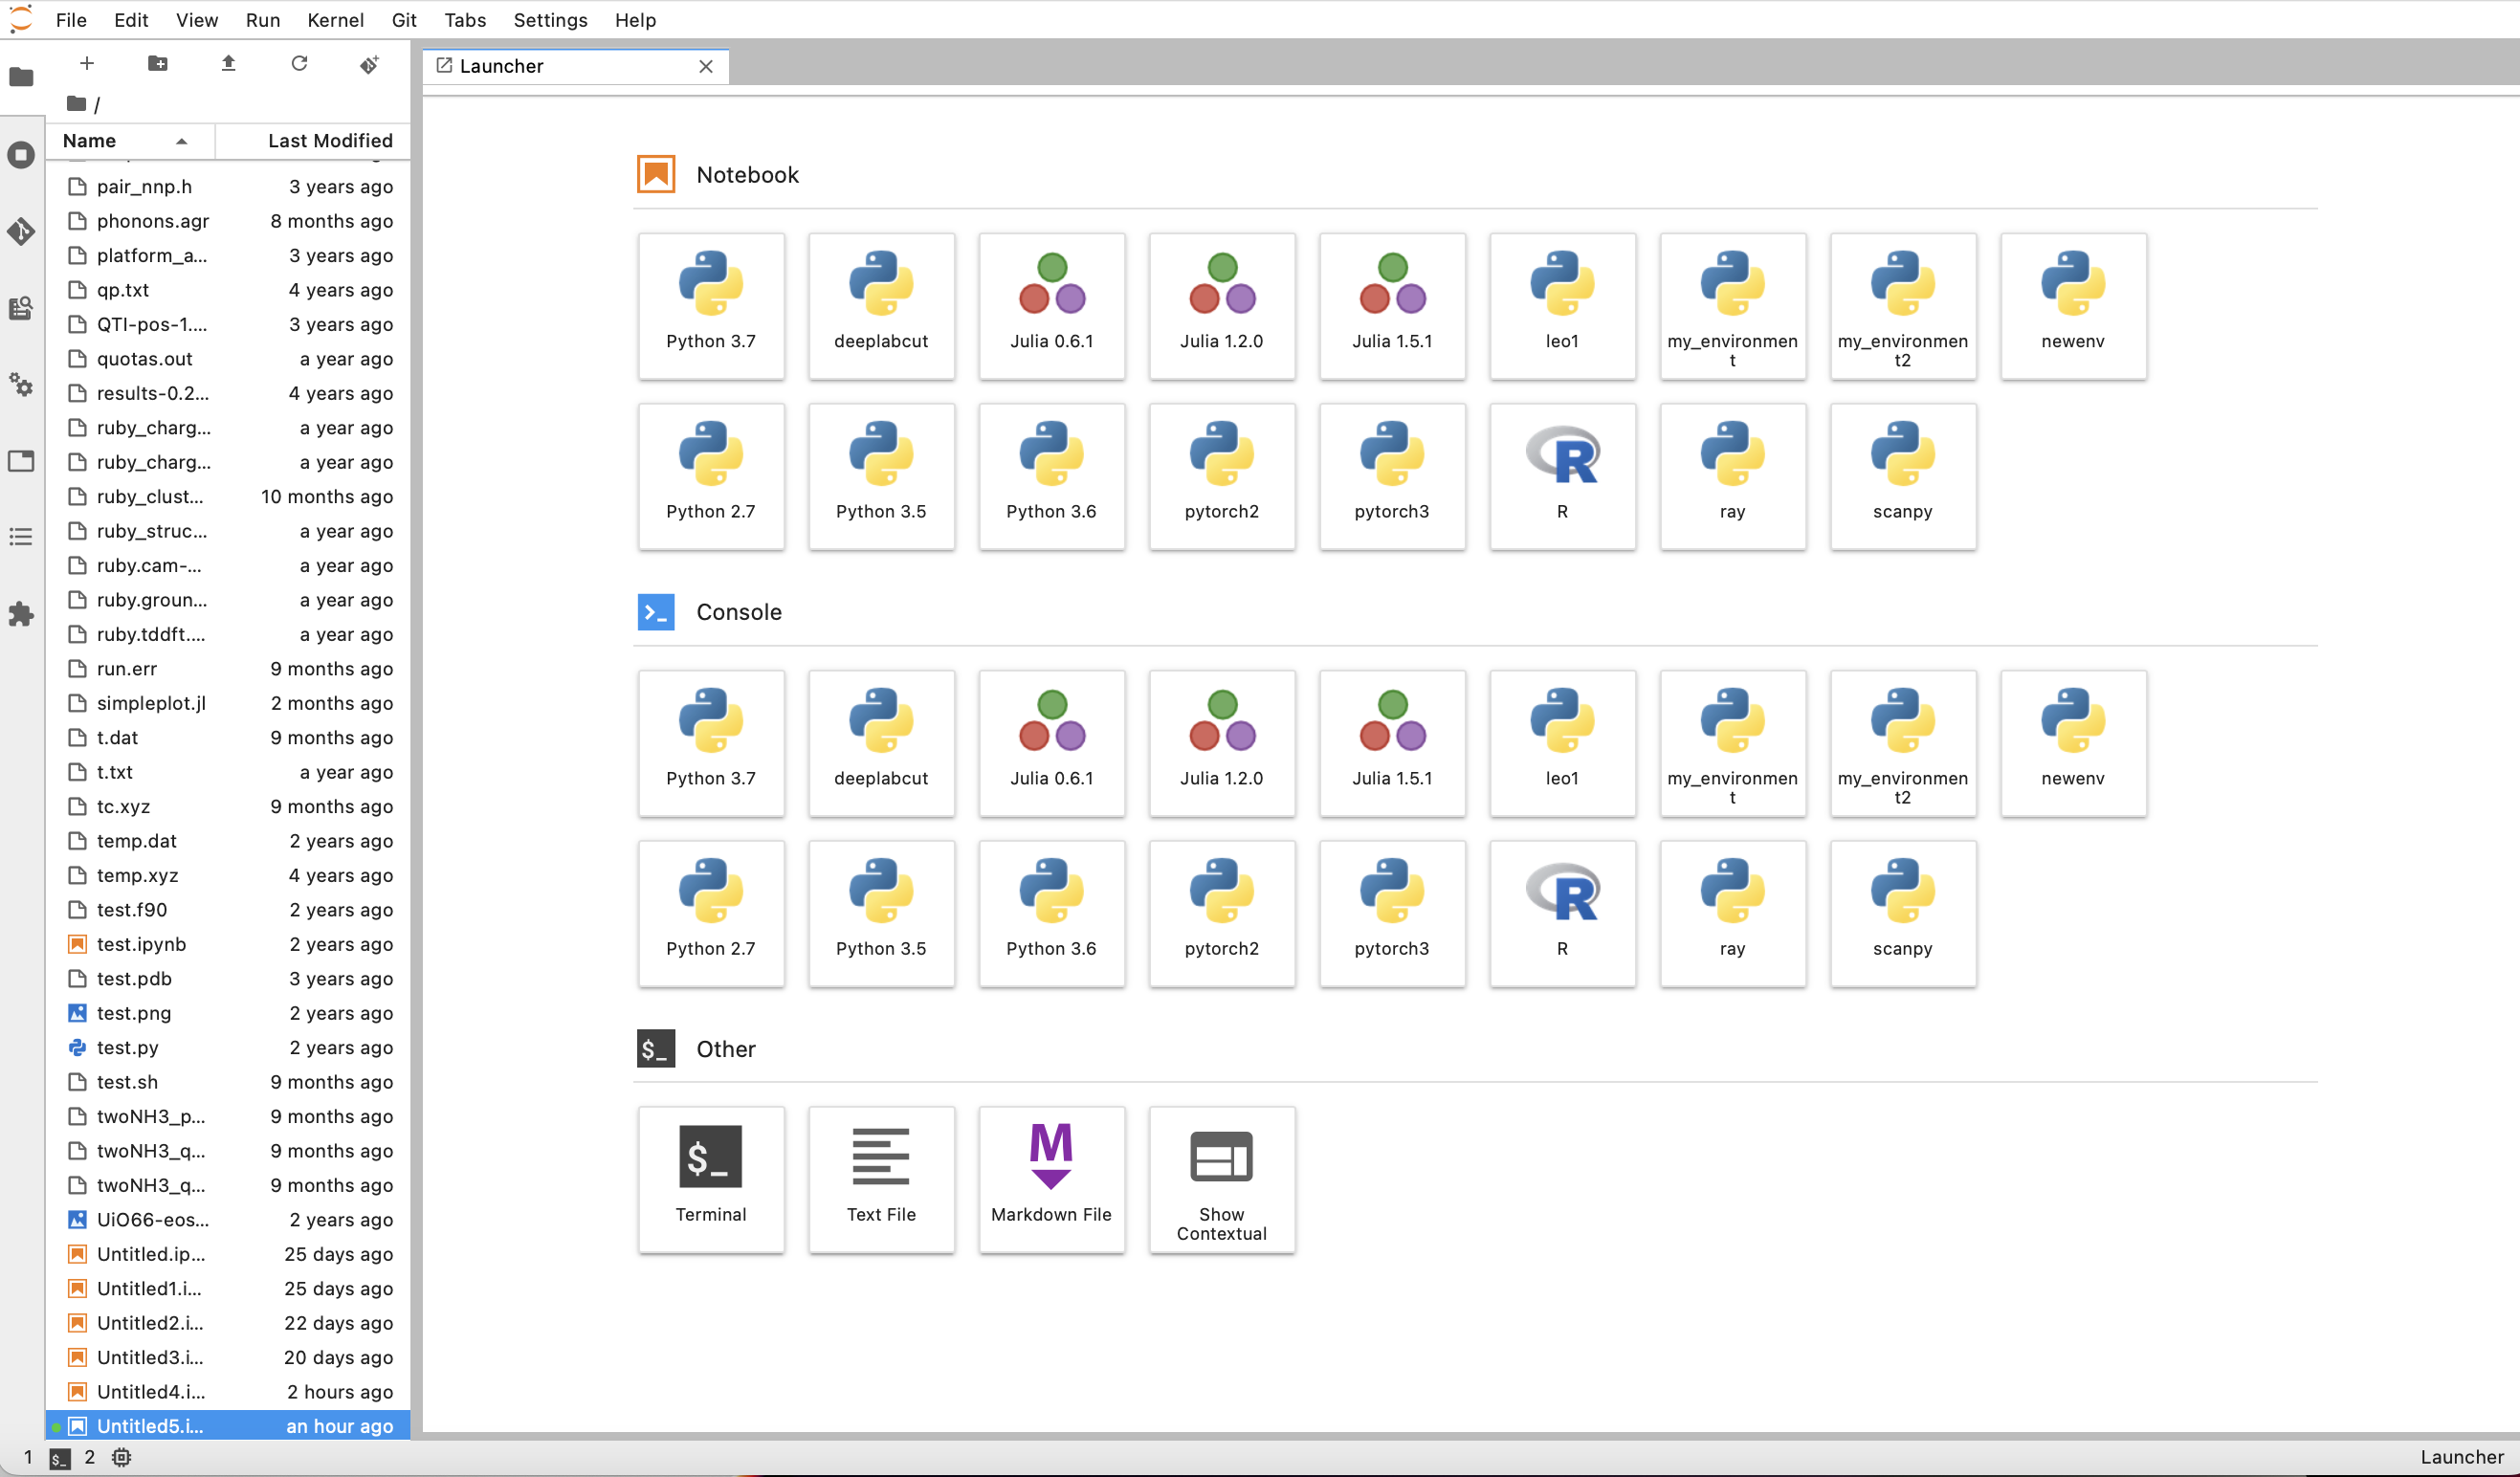
Here you can open a Jupyter notebook, a Console or even a Terminal. Your files stored on the CRC cluster are visible in the left pane.
Notebooks and Consoles can be started using a specific kernel. Some of these kernels correspond to standard Python (or Julia and R) environments, for instance Python 3.7. Other kernels can contain user-defined virtual environments, with specific packages installed. We provide guidelines on how to create Python virtual environments, install software in them and make them visible as user-defined kernels in Jupyter Hub at https://crc.pitt.edu/user-support/installed-software/python.
General information about Juyter notebook capabilities are available at https://jupyter.org. Jupyter notebooks created using the CRC Jupyter Hub are automatically saved to your home directory on the CRC cluster. The File menu near the top left corner of Jupyter Hub allows you to rename your files or to save them to non-default directories.